Last Modified: 05/05/2025 12:22:35
Setting instructions and hints to configure the Cina Proxy Server
In case you are unfamiliar with what a Proxy Server is, what
it basically allows you to do is
share one internet connection with all the machines on your network. For
example: my main computer is the only one which has internet access, but I
have several other machines on my local network. By running the Proxy Server
on the machine that has the internet connection (my main machine), and setting
all the other machines to use a proxy, I can browse the web from them, just
like I can from the machine actually connected.
Quick Tour Cina Proxy Configuration

 |
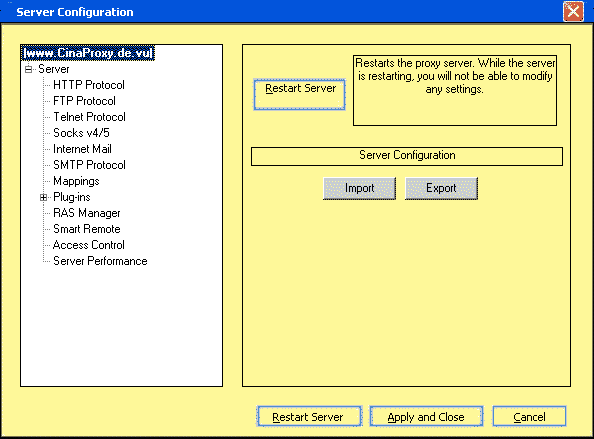
here you can find information about the RAS State, |
 |
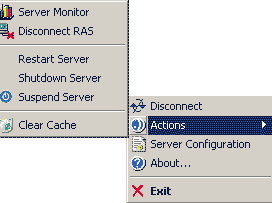
restart is to apply settings directly, that is also
possible in tray menu (see above) that you can also sync your server with the internet atomic time (via http from uhrzeit.org) supported for europe. |
 |
check the servers you want to use: |
 |
set port for proxy (standard sets default port 3128), this port is set in your browsers, too. ftp as anonymous is standard (checked or unchecked). use Web-cache enables web-cache (no limit is set) - you can get rid of all wast by clicking in traymenu->delete cache. ad-blocker level system wide sets the level how the proxy behaves on ads,banners... like junkbuster. set port for build in web-server (standard 80) |
 |
|
in your email client set the properties of your mail-account
like you should do as the provider say, but in the server field POP3 and SMTP
replace the above configured Inbox and Outbox with the Server-Address of the
Proxy.
Afterwards you have to change the ports in the client to those you have given
above i.e. 10000 and 10001 and so on.
 |
set up your dynamic dyndns account |
 |
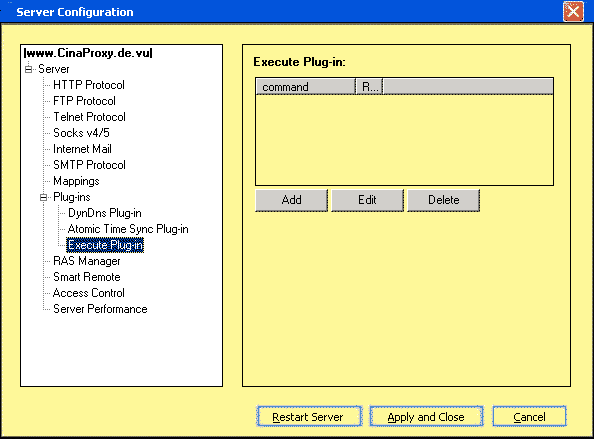
per shell has no control over the started executable
(no termination) |
 |
|
using the RAS-Manager is not so difficult. set up the ras-connection that has been made up with the internet connection wizard before and tell the proxy your account information. the proxy will then connect via the RAS-Connection to the Internet.
The RAS-Manager connects to the Internet by default, if a request
is sent by a client in the valid period.
The RAS-Manager disconnects automatically if the time limit is set different
to '0' and no network-connection to the server is made (admin excluded, SmartRemote
Included).
disconnect foreign RAS-Connections - if the proxy detects, that no connection is valid - it disconnect hand made connections, too.
On termination disconnect RAS - if server is stopped normally disconnet ras, too.
Shutdown the Proxy machine (the PC itself) after a period if no connection is available. Power Saving could be used if you want turn on the Proxy machine by cmos-wake-up and shutdown it after the RAS-connection has expired.
Even more RAS-connections could be made from one to configure
weekends and other times. For example you can choose one connection that
is set up to be valid every hour every day. by activating it
or deactivating it you can influence the behavior of the proxy - feel free to
select yours.
The connection Manager uses the first connection that fits to be valid, other
following connections even if they are valid were not checked.
 |
the smartremote client has to be activated for launching the smartremoteclient 'GoOnline'. Use the standard port 2505. Smart Remote enables for every user to configure the proxy for the special needs. adblock-level, cookies, user agent delete you can use this smart program if you want to manually dial a ras-connection. so long the smart-remote connection persists the proxy will not terminate the ras-connection except the connection is invalid at any moment. |
 |
also the 127.0.0.1 is possible and may be needed for testing the web-server... |
use the unlimited rights, if the proxy server is installed on a pc with integrated firewall, so that no one can access the proxy from the internet!
use limited right if you have no firewall or if you want to
exclude some users.
therefore add the ip-addresses that are allowed to access the server and its
components.
the check not to bound the server at 127.0.0.1 can be used
to use less ressources and if you do not need to
use the proxy from 127.0.0.1.
the check not to bound the server is dangerous and should not be made if you are not behind a firewall.
bind server at interface is optional - the server will automatically been bound at the 1st interface on the server machine, but if this is not the right - you can give the server the ip to which it should be bound to.
set the new password, because the 'admin' should everybody know! don't forget to set the new password to the server login dialog after the settings has been saved.